
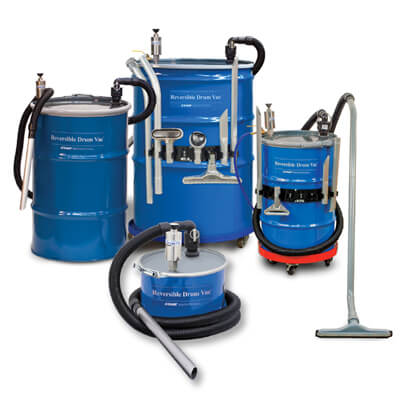
Almost all EXAIR products are maintenance-free. Nevertheless, for some products it is worth cleaning them from time to time so that they return to peak performance. As long as the Reversible Drum Vac is supplied with clean, oil-free and particle-free compressed air, our customers can expect a product that works without any problems.
However, we have often found that what is perceived as “clean air” in the application does not always reflect reality. Even if a filter system is installed at the compressor outlet, there are many other areas further along the distribution system that can lead to contamination of products at the point of use.
One of these products that can become contaminated is the Reversible Drum Vac. Although the airflow gap is set here at EXAIR with a shim before leaving the factory, rust, dirt, deposits, oil, PTFE tape etc. making their way downstream can clog the narrow channels in the mixing chamber on which this shim sits. When this happens, the airflow is restricted, reducing the performance of the Reversible Drum Vac. This is immediately noticeable as a drop in performance.

Shim
Carry out the cleaning yourself
The cleaning procedure for the Reversible Drum Vac is relatively simple and can easily be carried out on site. Our customers are supported by the step-by-step guide and an explanatory video. Our customer advisers are also happy to help with any questions.
Here is a video that clearly demonstrates the cleaning procedure:
You are currently viewing a placeholder content from YouTube. To access the actual content, click the button below. Please note that doing so will share data with third-party providers.
More InformationQuick repairs, and not just for the Reversible Drum Vac
With a mild degreaser and simple tools, you can get your Reversible Drum Vac running again in about 15 minutes. If you have a Reversible Drum Vac that used to work well but no longer does, a quick clean is probably exactly what it needs. Please note that the same component is used in the Chip Trapper, High Lift Chip Trapper and High Lift Reversible Drum Vac, so the same procedure applies.
Step-by-step cleaning guide
Some of our customers prefer a printed maintenance guide for their maintenance department. Here you will find a step-by-step guide in the form of a PowerPoint presentation:
After cleaning
It is particularly important to pay attention to the marking on the plug to ensure that the product is correctly reassembled after cleaning. As each product is tested and adjusted while air flows through a rotameter, it is important to note the plug depth BEFORE disassembly (as described in the slide below).
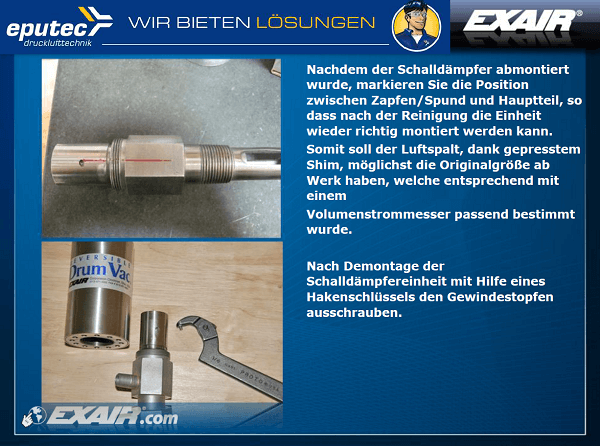
Although cleaning the Reversible Drum Vac is described in the installation instructions supplied with every product, the video and the presentation explain the steps for proper cleaning again in detail. This ensures that you have everything you need to get your product back into working order.
If you still have problems overhauling your Reversible Drum Vac, our staff will be happy to help: >> Technical advice